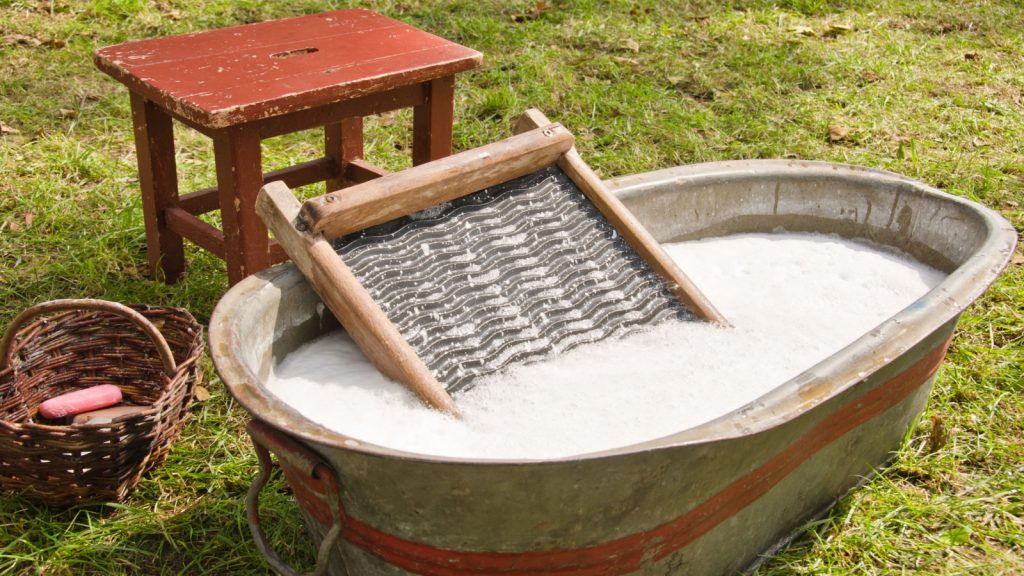
There’s something timeless about a stone wall. They’re a feature of the countryside that feels steeped in history, from the fields of rural Britain to the rugged pastures of New England. But these walls aren’t just for admiring; they’re a practical addition to any landscape. They make brilliant boundaries for gardens or livestock paddocks, and if you’ve got plenty of stone lying about, they’re an affordable solution too.
Let’s not sugarcoat it though – building a freestanding stone wall is hard graft. That said, it’s the sort of project you can chip away at over time, making it perfect for quieter months. I have vivid memories of my grandfather working on walls during winter when the farm slowed down. We’d collect stones from the stream with our trusty Morgan horse pulling a cart. There’s a certain satisfaction in working with natural materials like that – it’s a labour of love.
Should You Use Mortar?
The first decision you’ll face is whether to use mortar or go completely dry. This article focuses on dry stone walls, built with nothing but gravity and some elbow grease. Freestanding dry walls don’t need to resist soil pressure like retaining walls do, but if built properly, they can last for centuries.
Of course, adding mortar has its advantages. It strengthens the structure and can give the wall a polished, permanent feel. Dark grey mortar can even blend into the rocks if you want to maintain a natural look. But going mortar-free is often quicker, cheaper, and results in a clean, rustic finish. Plus, there’s something satisfying about letting the stones “fit” naturally, almost like a giant jigsaw puzzle.
Where Can You Find Stone?
If your garden’s anything like mine, the stones practically find you. Every time you dig or mow, there they are – another crop of rocks waiting to be harvested. Streams and creeks are another excellent source, especially if you want smooth, rounded stones shaped by the water. Just make sure to collect responsibly and leave the area tidy.
If you need more stone, a local quarry or stone yard can help. They’ll often deliver straight to your site, saving you the trouble of hauling it yourself. When choosing stones, variety is key. You’ll need large, flat ones for the base and capstones, smaller ones for filling gaps, and a good mix of shapes to fit everything together snugly.
Tools and Materials
Technically, you only need rocks and determination to build a stone wall. But a few tools can make the job much easier:
- Shovel and tamper for preparing the ground
- Stakes and string to mark out your wall
- Level and tape measure for accuracy
- Landscaping fabric for drainage
- Hand tools like a rubber mallet, chisel, and sledgehammer
Having the right tools on hand will save you time and effort in the long run.
Preparing Your Foundation
Freestanding walls are forgiving, but a solid foundation makes all the difference. At the very least, clear the area of roots and debris, tamp down the soil, and check for any soft spots. For a more durable wall, dig a trench about 8–12 inches deep (or below your local frost line). Make the trench as wide as your wall base, which should be about half the wall’s height – so a 3-foot wall needs a 1.5-foot-wide base.
Line the trench with landscaping fabric to improve drainage, then fill it with gravel, tamping it down in layers. This base will provide the stability your wall needs to stand the test of time.
Getting Started: Sorting Your Stones
Organising your stones by size and shape makes construction much smoother.
Before you start building, take some time to sort your stones. Group them by size and shape to make the construction process easier. Large footing stones go at the base, while flat capstones finish the top. In between, you’ll use “face stones” for the main structure, “hearting stones” to fill gaps, and “tie stones” to connect the two sides of the wall.
Laying the First Course
Begin with two rows of large footing stones, one along each edge of the trench. Leave a gap between them for the hearting stones that will stabilise the wall’s core. Think of it like stacking firewood – you want the stones to interlock tightly for a sturdy base.
Building Up: Layer by Layer
Patience and precision pay off as you stack each course of stones.
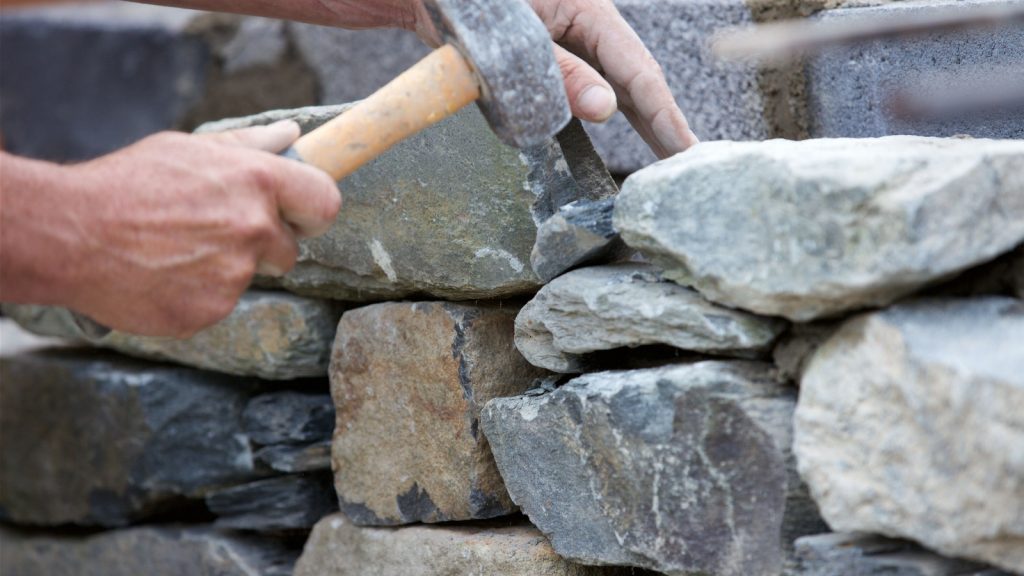
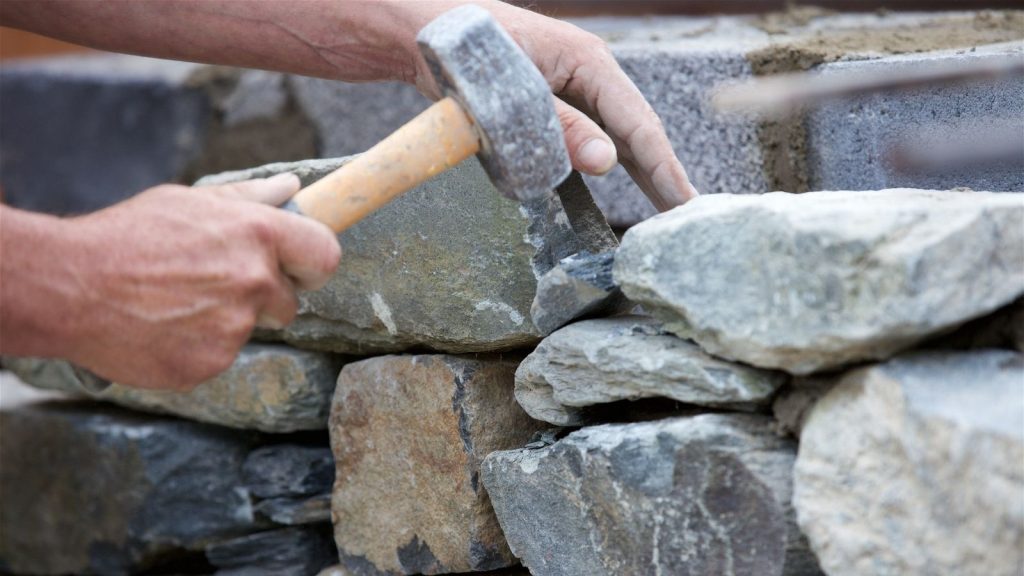
As you add layers, alternate the joints to avoid weak spots. Every few feet, use a long tie stone to connect the two sides of the wall, adding crucial stability. Fill gaps with hearting stones and keep everything as level as possible. If a rock doesn’t quite fit, a few taps with a mallet or a quick chisel can do the trick.
Finishing Touches
Once you’ve reached the desired height, top your wall with flat capstones. These provide stability and give the wall a polished look. Finally, inspect the entire structure for any gaps or loose stones. Fill these with hearting rocks, and your wall is complete!
Ongoing Maintenance
Your wall might be finished, but it’ll need a bit of care over the years. Regularly check for loose or missing stones, especially after storms or heavy winds. Replace capstones as needed, and keep the foundation clear of encroaching plants or water damage.
Safety First
Always prioritise safety when building. Wear sturdy boots, gloves, and eye protection – stone can be unforgiving if it falls or chips. Long sleeves and trousers will protect your skin from scrapes, and a bit of caution goes a long way.
With patience and effort, you’ll have a stone wall that’s not just a barrier but a work of art, standing strong for years to come.

James is a former logistics coordinator and wilderness safety instructor, whose practical experience taught him the value of sensible preparedness and calm resilience. Passionate about self-reliance, James teaches everyday skills—like water purification, emergency communication, and outdoor safety—to help people confidently handle life's disruptions without fear or overwhelm. His approachable style combines real-world insights with relatable, personal stories and experiences.