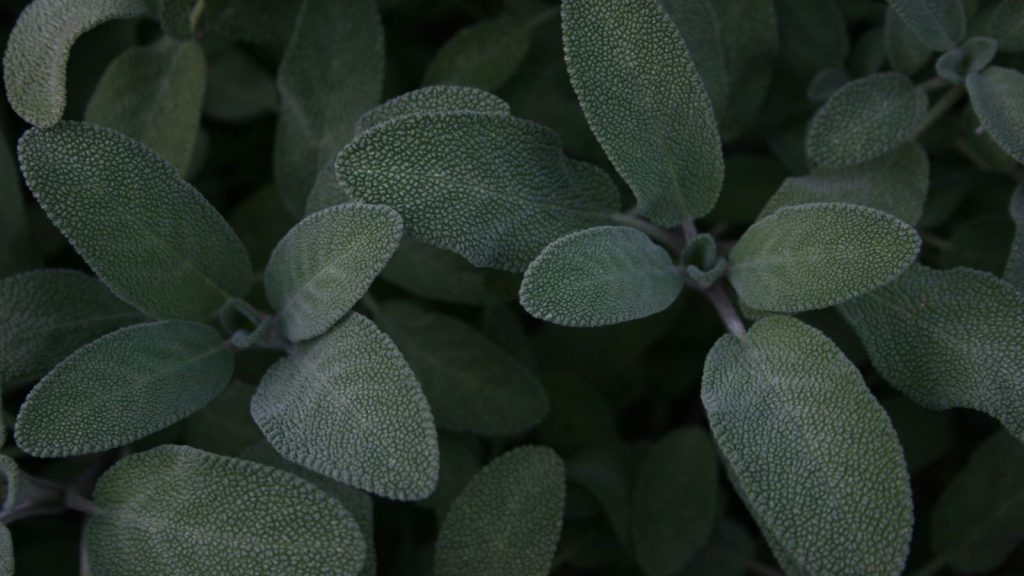
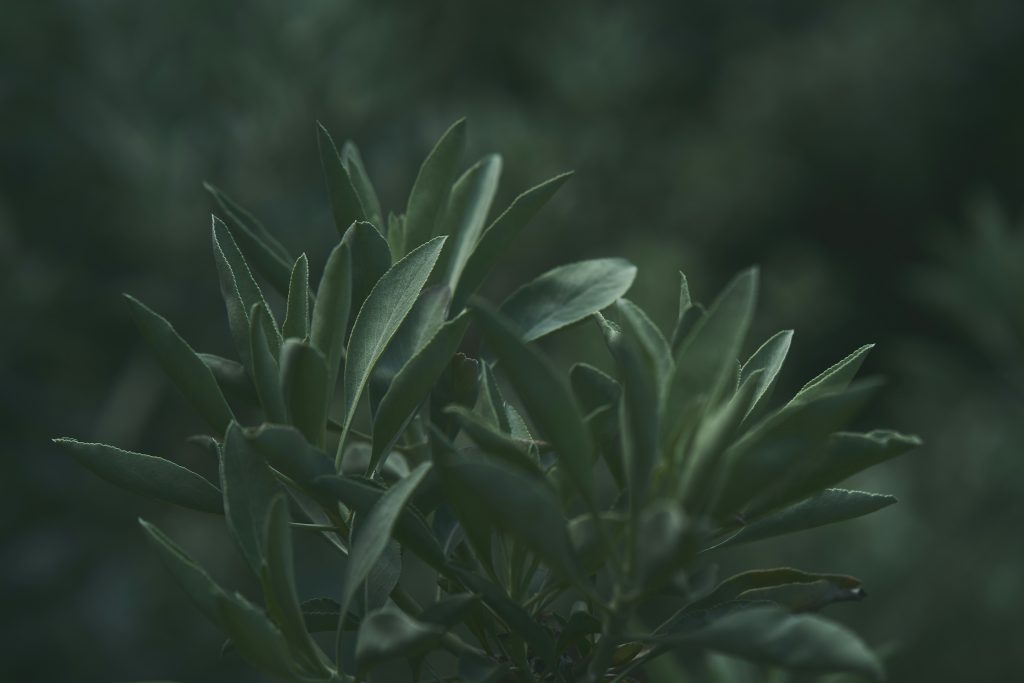
Sage (Salvia officinalis) is one of those essential herbs that deserves a place in every garden. Not only does it add wonderful flavor to fall and winter dishes, but its attractive gray-green leaves and purple-blue flowers make it a beautiful addition to any landscape. As a Mediterranean native, sage thrives in full sun and well-drained soil, and it’s impressively drought-tolerant once established.
I’ve been growing sage for over a decade, and one of the things I love most about this perennial herb is how easy it is to propagate. Why buy more plants when you can multiply what you already have? Here’s my tried-and-true method for creating new sage plants from existing ones without spending a dime.
When to Propagate Sage
The timing of sage propagation depends on your chosen method. For cuttings, late spring through early summer is ideal when plants are actively growing but not yet flowering. For division, early spring or fall works best when the plant is not under heat stress.
Sage propagation is best avoided during the hottest parts of summer or during flowering, as plants are more stressed during these periods and have lower success rates. I’ve found morning hours are best for taking cuttings or dividing plants, when they’re still fully hydrated from overnight moisture recovery.
Choosing Your Propagation Method
Sage can be propagated several ways, each with its advantages. Stem cuttings offer a quick and reliable method that allows you to create many new plants at once. Layering has a very high success rate but produces fewer plants more slowly. Division creates instant mature plants but only works with well-established sage. Seeds are inexpensive but slow, with variable results and plants that aren’t true to variety.
For this guide, I’ll focus primarily on stem cuttings, which offer the best balance of ease, speed, and reliability for most home gardeners.
Materials You’ll Need
To successfully propagate sage through cuttings, you’ll need sharp, clean scissors or pruning shears, small pots with drainage holes, and a well-draining potting mix or a 50/50 mix of perlite and peat moss. Rooting hormone powder is optional but helpful. You’ll also want clear plastic bags or recycled plastic bottles for creating humidity, plant labels and a waterproof marker, a spray bottle with water, and a small trowel.
Step 1: Select Healthy Parent Plants
The success of propagation begins with selecting the right parent plant. Look for sage plants that are vibrant and healthy without any signs of disease or pest damage. They should be at least one year old with plenty of new growth and not currently flowering, as flowering stems have lower rooting success. Choose plants growing in good conditions without stress from drought or overwatering.
Culinary sage varieties like ‘Berggarten,’ ‘Purpurascens’ (purple sage), or ‘Tricolor’ all propagate readily from cuttings. I’ve found the common garden sage (Salvia officinalis) roots the most easily, while some of the fancy variegated cultivars can be slightly more challenging but still quite doable.
If your sage plant is woody and leggy, take cuttings from the younger, greener stems growing toward the top of the plant. These younger stems have more rooting potential than the older woody growth at the base.
Step 2: Prepare Your Pots and Medium
Before taking any cuttings, prepare your pots with the appropriate medium. Sage cuttings need excellent drainage to prevent rot while they’re developing roots.
I prefer a 50/50 mix of perlite and peat moss for rooting sage cuttings, but a good quality seed starting mix or general potting soil with extra perlite mixed in works well too. Whatever medium you choose, make sure it’s light and airy rather than dense and moisture-retentive.
Fill your pots to about 1/2 inch from the top and water thoroughly, allowing any excess water to drain completely. This pre-moistening is important—dry medium can wick moisture from your cuttings, while overly wet medium can cause rot.
Step 3: Take Proper Cuttings
Early morning is the ideal time to take cuttings when plants are fully hydrated. Using clean, sharp scissors or pruning shears, select healthy, non-flowering stems that are 3-5 inches long. Cut just below a leaf node (the point where leaves emerge from the stem). Remove leaves from the bottom 1-2 inches of the stem and trim any flowers or flower buds if present.
Each cutting should have at least 3-4 leaf nodes, with 2-3 nodes that will be below the soil surface and at least 1-2 nodes with leaves remaining above.
I’ve found that semi-hardwood cuttings—those that are neither the newest, softest growth nor the oldest, woodiest parts—root most reliably. These cuttings have a bit of flexibility but will snap if bent too far.
If you’re taking multiple cuttings (which I recommend for better success rates), place them in a jar of water temporarily to prevent them from drying out while you continue to work.
Step 4: Apply Rooting Hormone (Optional but Helpful)
While sage will often root without any assistance, I’ve found that using rooting hormone significantly increases both the speed and success rate of propagation. If using rooting hormone powder, pour a small amount onto a clean surface (not back into the container). Dip the cut end of each stem about 1/2 inch into the powder, then tap gently to remove excess powder. Always discard any unused hormone that’s been poured out.
If you don’t have commercial rooting hormone, some gardeners report success using alternatives like willow water (made by soaking willow branches), honey diluted in water, or cinnamon. I haven’t found these to be as effective as commercial products, but they’re better than nothing in a pinch.
Step 5: Plant Your Cuttings
Now it’s time to get those cuttings into soil. Use a pencil or chopstick to make holes in the pre-moistened medium. Insert each cutting into its own hole, burying about 1-2 inches of the stem. Gently press the medium around the stem to ensure good contact. If planting multiple cuttings in the same pot, space them at least 2 inches apart.
The holes created by your pencil or chopstick ensure that you won’t scrape off the rooting hormone when inserting the cuttings into the medium.
If you’re planting multiple varieties, be sure to label them immediately. It’s surprisingly difficult to tell different sage varieties apart when they’re just small cuttings.
Step 6: Create a Humid Environment
Sage cuttings need high humidity while they’re developing roots, but they also need good air circulation to prevent rot. To balance these requirements, mist the cuttings gently with water, then cover each pot with a clear plastic bag or cut the bottom off a plastic bottle and place it over the cuttings. Place the covered pots in bright, indirect light (never direct sunlight, which can cook your cuttings under plastic).
If using plastic bags, prop them up with small sticks to keep the plastic from touching the leaves. If using plastic bottles, leave the caps off to allow some air exchange.
I check my cuttings daily, removing the covers briefly to prevent condensation from building up too much. If the covers are extremely foggy, I leave them off for an hour or so before replacing them.
Step 7: Care for Your Cuttings Until Rooted
Proper care during the rooting period is critical for success. Keep the medium consistently moist but never soggy. Mist the cuttings every few days and place in bright, indirect light—never full sun while they’re under cover. Watch for signs of new growth, which indicates successful rooting.
After about 3-4 weeks, gently tug on the cuttings to test for resistance. If you feel resistance, roots have formed! Another sure sign of rooting is new growth emerging from the leaf nodes.
Once your cuttings have developed roots, remove the humidity covers gradually, starting with a few hours daily. After a week of gradually increasing exposure, remove covers completely. Begin fertilizing with a very dilute (quarter-strength) organic fertilizer and allow the top of the soil to dry slightly between waterings.
In another 2-3 weeks, your rooted cuttings will be ready to transplant into the garden or larger containers.
The Division Method: Another Path to New Sage Plants
If you have a large, established sage plant (at least 3 years old), division offers a quicker route to new plants. Early spring is the ideal time for this method.
Water the parent plant thoroughly the day before dividing to ensure it’s well-hydrated and less stressed. Dig up the entire plant, preserving as much of the root system as possible. Gently shake off excess soil to reveal the natural divisions in the root ball.
Using a sharp, clean knife or garden spade, cut through the roots to separate the plant into sections. Each division should have plenty of roots and at least several stems. Replant divisions immediately at the same depth they were previously growing, water thoroughly, and mulch around the plants.
Divided sage plants may look somewhat stressed initially, but they typically recover quickly and show new growth within a few weeks. I water divided plants more frequently than established sage until they show signs of new growth.
Common Problems and Solutions
When cuttings turn black or start rotting, it usually indicates too much moisture or poor drainage. Make sure your potting medium drains well and allow the top to dry slightly between mistings. Increase air circulation by removing covers for longer periods. If rot appears on just one cutting in a pot with multiple cuttings, remove it immediately to prevent spread.
Some leaf drop is normal as the cutting directs energy to root formation, but excessive yellowing suggests problems. Check that the cuttings aren’t getting too much direct sunlight, which can stress them. Ensure humidity isn’t too high for too long and make sure the medium isn’t staying too wet.
If your cuttings look healthy but haven’t rooted after 6 weeks, several factors could be at play. Some varieties simply take longer than others. Temperature may be too cool—warming the bottom of pots can help. You might need to try a fresh batch of cuttings with a stronger rooting hormone or consider trying a different propagation medium with better drainage.
When moving rooted cuttings to their permanent locations, some transplant shock is normal. Minimize this by hardening off rooted cuttings gradually, transplanting on an overcast day or in the evening, watering thoroughly after transplanting, and providing temporary shade for a few days.
Different Sage Varieties and Their Quirks
While all culinary sages propagate using similar methods, I’ve found some varieties have specific preferences.
Common Garden Sage (Salvia officinalis) is the easiest to propagate, often rooting in water alone if you prefer that method. Purple Sage (S. officinalis ‘Purpurascens’) tends to be slightly slower to root than common sage. Give these cuttings an extra week or two before expecting results.
Tricolor Sage (S. officinalis ‘Tricolor’) has variegated leaves with less chlorophyll, so the cuttings have less energy for root development. Use rooting hormone consistently with this variety and expect a lower success rate.
Berggarten Sage, with its broader leaves and more compact growth habit, seems more susceptible to rot if overwatered. Make sure your medium is very well-draining for this one.
Pineapple Sage (Salvia elegans), while not a true culinary sage, propagates readily from cuttings and benefits from being started indoors 8 weeks before your last frost date.

James is a former logistics coordinator and wilderness safety instructor, whose practical experience taught him the value of sensible preparedness and calm resilience. Passionate about self-reliance, James teaches everyday skills—like water purification, emergency communication, and outdoor safety—to help people confidently handle life's disruptions without fear or overwhelm. His approachable style combines real-world insights with relatable, personal stories and experiences.