Harvesting garlic at just the right moment is one of those gardening skills that takes a bit of practice. Too early, and your bulbs won’t have reached their full size potential. Too late, and the protective wrappers might start to split, reducing storage life dramatically. After growing garlic for over a decade, I’ve learned to watch for specific signs that signal the perfect harvest window.
Timing Your Garlic Harvest
Unlike many crops that follow a strict calendar schedule, garlic’s harvest time can vary significantly depending on your climate, the varieties you’re growing, and even that year’s specific weather patterns. In our raised beds, we typically harvest somewhere between late June and early August, though in especially hot years, our garlic has been ready as early as mid-June.
The most reliable indicator I’ve found is to watch the leaves. When the bottom 3-4 leaves have turned completely brown and dried out, but the upper leaves are still mostly green (about 5-6 green leaves remaining), that’s the sweet spot for harvesting. For hardneck varieties, this usually happens about 3-4 weeks after you’ve cut the scapes.
Garlic leaves tell a story – each leaf extends down to form a protective wrapper around your bulb. When a leaf dies, its corresponding wrapper begins to deteriorate. Wait until all leaves are brown, and you’ll likely find your garlic has few protective wrappers left, meaning shorter storage life and potentially split bulbs.
Testing for Readiness
If you’re uncertain whether your garlic is ready, you can always dig up a test bulb. The bulb should feel firm and full, with well-defined cloves beneath the wrappers. The outer wrappers should still be intact, but they shouldn’t feel damp or green.
Another visual cue is to check if the bulb has begun to segment clearly. When you brush away some soil, you should be able to see distinct ridges that indicate where each clove sits inside the wrapper. This segmentation becomes more pronounced as the garlic reaches maturity.
Prepping for Harvest Day
About two weeks before you expect to harvest, stop watering your garlic. This helps the soil dry out and begins the curing process while the bulbs are still in the ground. Drier soil also makes for easier digging and cleaner bulbs when harvest day arrives.
For those growing in raised beds like we do, this two-week drying period is particularly important. Raised beds tend to retain less moisture than in-ground gardens, giving your garlic a head start on curing. In our clay-heavy soil areas, we’ve sometimes extended this pre-harvest drying time to three weeks when the weather has been especially wet.
Harvesting Technique Matters
The way you pull your garlic can significantly impact its storage life. I learned this lesson the hard way after ruining nearly half my harvest one year by being too rough. Don’t simply yank the stalks – you risk separating the stem from the bulb, which creates an entry point for rot and dramatically shortens storage time.
Instead, use a garden fork to gently loosen the soil several inches away from the plant. Then, carefully lift under the bulb rather than pulling from the top. If your soil is particularly compact, work the fork in from multiple angles to free the bulb without damaging it.
In our raised beds, the light, friable soil makes this process much easier than it was in our heavy clay garden plots. The bulbs slip out with minimal resistance, their wrappers clean and intact. Our switch to raised beds has not only increased our garlic size but also improved the quality of our harvest.
Handling Fresh Garlic
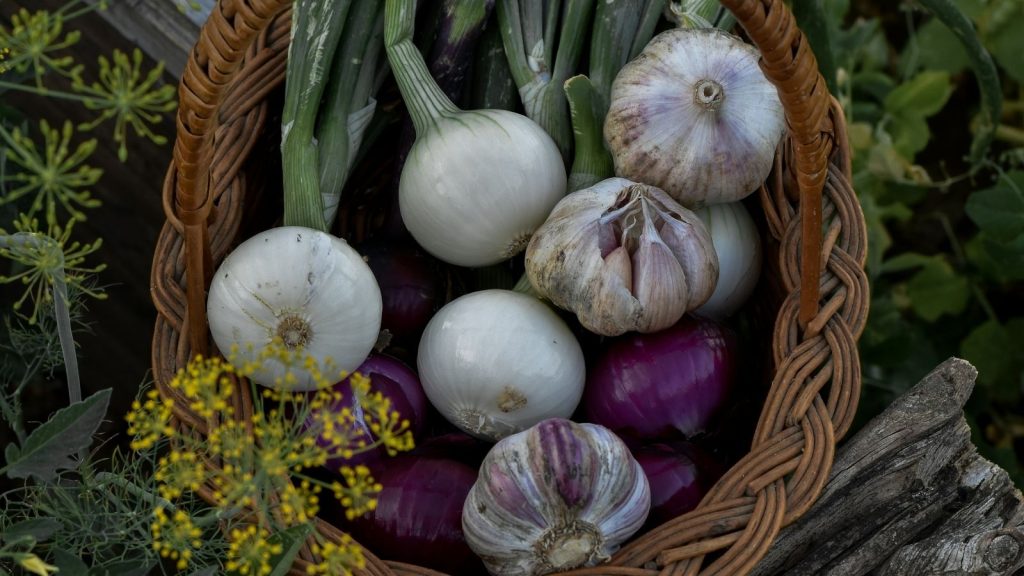
Once out of the ground, handle your bulbs gently. Freshly harvested garlic bruises easily, and any damage now will reduce storage life later. I like to place them in shallow harvest baskets, being careful not to pile them too high. If you need to transport your harvest any distance, cushion the bulbs with a clean towel.
Don’t wash your garlic! Despite how tempting it might be to rinse off that garden soil, moisture is the enemy of good garlic storage. Instead, gently brush away any loose soil with your hands. Any remaining dirt will dry during the curing process and can be easily removed later.
Curing for Maximum Flavor and Storage
Proper curing is what transforms good garlic into exceptional garlic. The curing process concentrates flavor compounds and prepares the bulbs for long-term storage by drying the outer wrappers and sealing in moisture within the cloves.
I cure our garlic in our unheated garage where temperatures stay between 75-85°F during summer days. The garlic gets excellent airflow but remains protected from direct sunlight, which can bleach the wrappers and reduce quality.
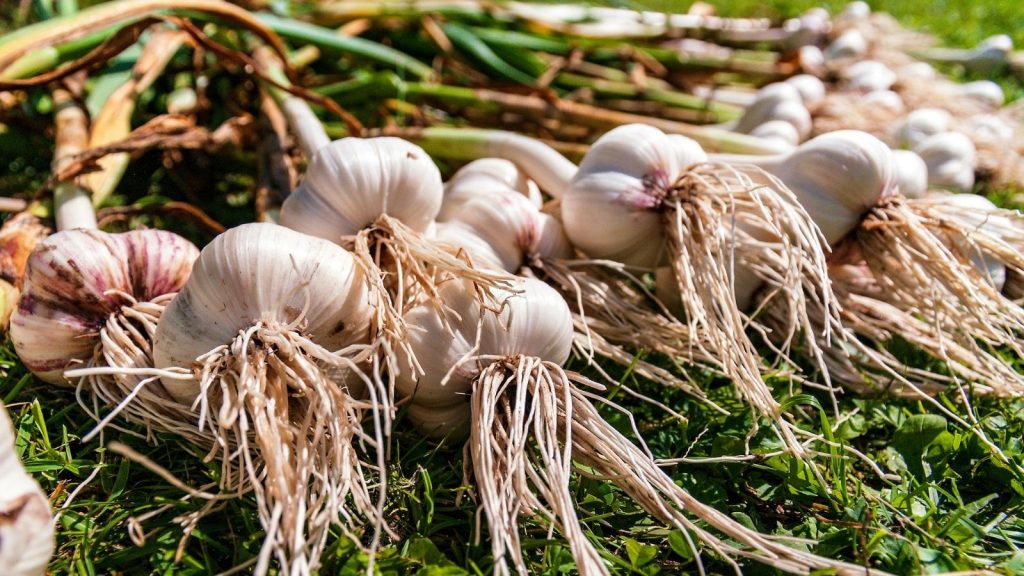
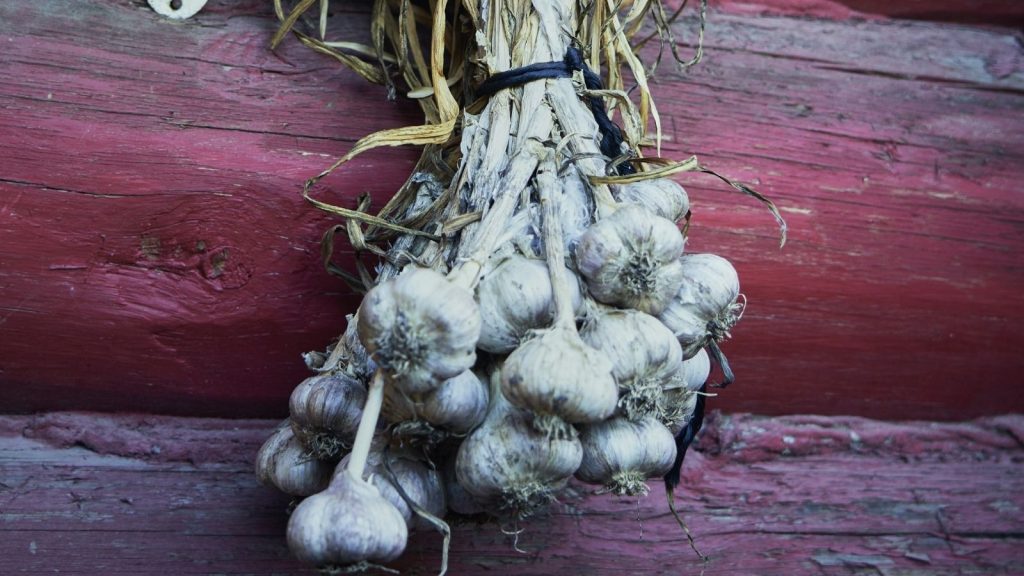
Lay your garlic out in a single layer on screens, mesh racks, or clean cardboard. Leave the stems and roots attached during curing – they’ll help draw moisture out of the bulbs. If space is tight, you can bundle 8-10 bulbs together and hang them, but make sure there’s good airflow between bundles.
Depending on your climate, curing takes between 2-4 weeks. In particularly humid areas, you might need a fan to improve air circulation and prevent mold. Your garlic is fully cured when the necks are completely dry and tight, the outer wrappers are papery, and the roots are brittle.
The Flavor Peak
What many gardeners don’t realize is that garlic’s flavor actually continues to develop after harvest. Fresh-from-the-garden garlic has a sharp, sometimes overly hot flavor profile that mellows and becomes more complex during the curing process.
For cooking garlic, I’ve found the flavor sweet spot occurs about 1-2 months after harvest. By this time, the harsh compounds have mellowed, but the bulbs still retain their full complexity. The cloves are firm but not rubbery, and the flavor notes are balanced between heat, sweetness, and that distinctive garlic depth.
For seed garlic (cloves you plan to replant), the best storage time is typically 3-4 months after harvest, just before planting in the fall. This timing aligns perfectly with garlic’s natural growth cycle.
Trimming and Storing
Once curing is complete, trim the stems to about 1-2 inches above the bulb for hardneck varieties. For softnecks, you can either trim them similarly or braid them for decorative storage. I also trim the roots close to the bulb base and gently brush away any remaining soil.
The ideal storage location is cool (around 55-65°F), dark, and dry with moderate air circulation. Avoid refrigerating your garlic – the cold, humid environment can cause sprouting and mold. We keep ours in mesh bags hung from the ceiling of our pantry, which stays relatively cool even during summer.
Some of our hardneck varieties will last 6-8 months when stored properly, while our softnecks regularly keep for up to a full year. By staggering our plantings with different varieties, we’ve managed to maintain a year-round supply from our own garden harvests.
Preserving the Overflow
If you find yourself with more garlic than you can use before quality declines, there are excellent ways to preserve your harvest. We roast and freeze whole bulbs, make and freeze garlic paste in ice cube trays, and dehydrate slices for homemade garlic powder.
For an exceptional treat, we ferment some bulbs in honey, creating a sweet-savory garlic condiment that’s perfect for drizzling over roasted vegetables. The honey itself becomes infused with garlic flavor and makes an incredible base for salad dressings.
Our garlic harvest has become one of our most anticipated garden events, not just for the impressive yield from our raised beds, but for the year of flavor that follows. Getting the timing right takes a bit of observation and experience, but the reward is truly exceptional homegrown garlic that outshines anything available in stores.

James is a former logistics coordinator and wilderness safety instructor, whose practical experience taught him the value of sensible preparedness and calm resilience. Passionate about self-reliance, James teaches everyday skills—like water purification, emergency communication, and outdoor safety—to help people confidently handle life's disruptions without fear or overwhelm. His approachable style combines real-world insights with relatable, personal stories and experiences.