Yes, I build my soil health naturally. Yes I use permaculture techniques. Yes, I work with nature as much as I can, but sometimes, the plants or the soil, or both, need a little help. And compost tea is one of the easiest, fastest, and best natural ways you can deliver that help. Whether it’s lackluster tomato plants or struggling pole beans, a thorough application of compost tea can help.
Compost tea is an essential part of my gardening routine. Not only did it turn around my struggling plants that first year, but I’ve seen consistent improvements in plant health, disease resistance, and overall yields. Here’s everything I’ve learned about making and using this liquid gold in the garden.
What Exactly Is Compost Tea?
Think of compost tea as a concentrated liquid version of your compost pile. You’re essentially steeping finished compost in water to extract the nutrients and beneficial microorganisms, creating a liquid fertilizer packed with everything plants need to thrive.
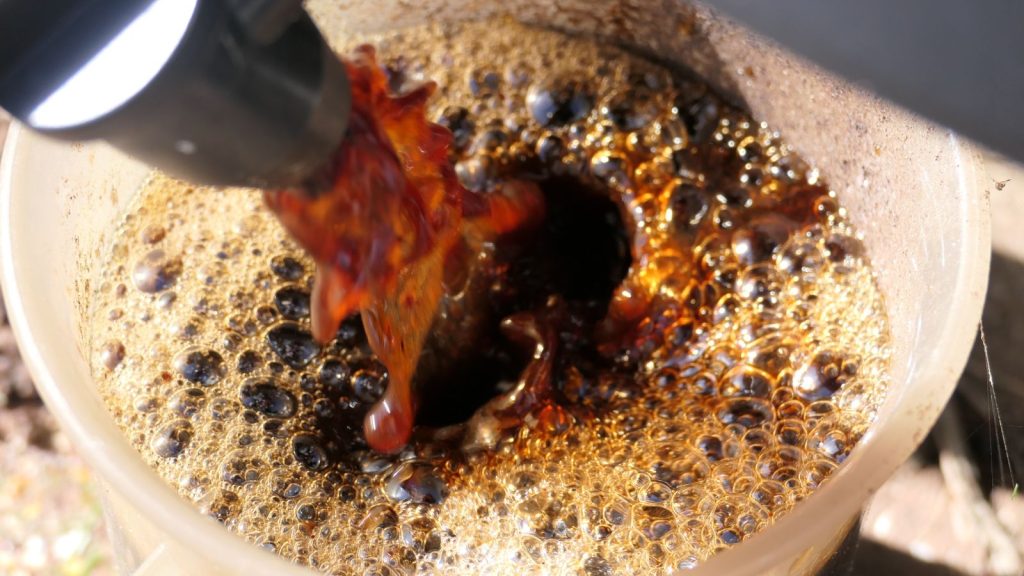
The process is similar to brewing actual tea, except instead of tea leaves, you’re using compost. The result is a dark, earthy-smelling liquid that’s teeming with beneficial bacteria, fungi, and other microorganisms that support plant health.
Unlike simply adding compost to soil, tea allows you to cover much larger areas with the same amount of material. A five-gallon bucket of tea can treat an entire vegetable garden, whereas you’d need wheelbarrows full of compost to achieve the same coverage.
The Science Behind Why It Works
Healthy soil is alive with billions of microorganisms that form complex relationships with plant roots. These tiny creatures help plants absorb nutrients, fight off diseases, and even communicate with each other underground. When soil lacks these beneficial microbes, plants struggle to access nutrients and become more susceptible to problems.
Compost tea delivers a concentrated dose of these beneficial organisms directly to plant roots and leaves. When applied to foliage, the good microbes colonize leaf surfaces and crowd out harmful bacteria and fungi before they can establish disease. Applied to soil, they enhance the root zone and improve nutrient availability.
The microbes in quality compost tea include bacteria that fix nitrogen, fungi that help plants access phosphorus, and predatory microorganisms that keep harmful pathogens in check. It’s like adding a complete ecosystem to your garden in liquid form.
Two Methods: Simple vs. Aerated
There are two basic approaches to making compost tea, and I’ve tried both extensively. Each has its place depending on your goals and available time.
Simple Steeping Method
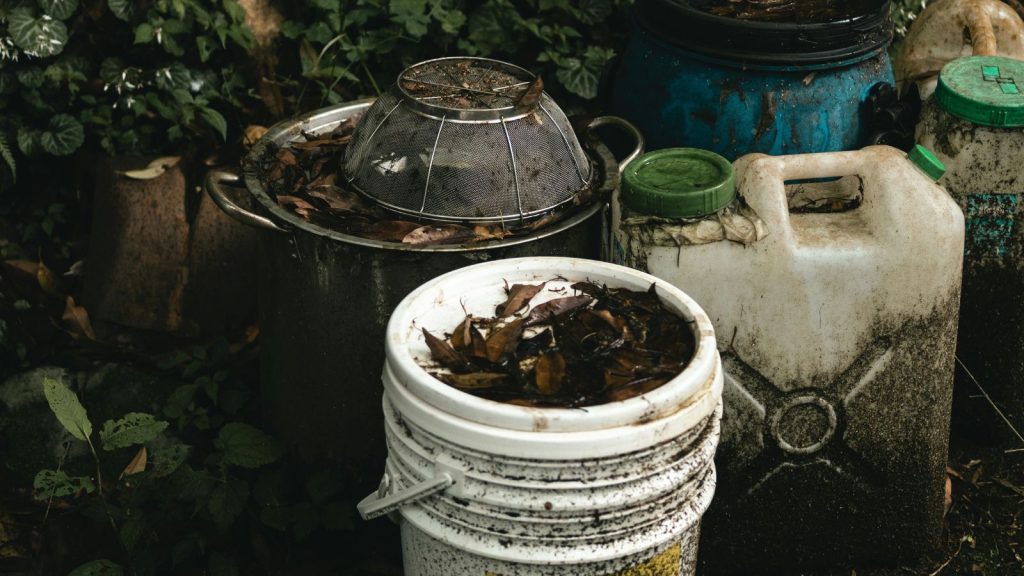
The traditional method involves stuffing compost into a burlap sack or old pillowcase, submerging it in a bucket of water, and letting it steep for several days. This creates what’s technically called compost extract rather than true tea.
I still use this method occasionally because it’s incredibly simple and requires no equipment. Just tie up your compost bundle, drop it in water, and wait three to five days until the water turns coffee-colored. The downside is that without aeration, you’re not actively encouraging microbial growth, so the final product is more about extracted nutrients than living organisms.
This method works well for general feeding, especially for established plants that just need a nutrient boost. However, the finished product can develop an unpleasant smell if left too long, and there’s some risk of harmful bacteria developing in the oxygen-poor environment.
Aerated Compost Tea (ACT)
The aerated method is what transformed my garden. By continuously pumping air through the brewing mixture, you create ideal conditions for beneficial aerobic microbes to multiply rapidly. The result is a much more biologically active product.
For aerated tea, I use an aquarium air pump with air stones to keep the water bubbling constantly. This prevents harmful anaerobic bacteria from taking over while encouraging the growth of beneficial organisms. The brewing time is much shorter—usually 24 to 48 hours—and the finished product smells earthy and pleasant, never putrid.
The equipment investment is minimal. A basic aquarium pump, some tubing, and air stones cost under $50 and will last for years. The improvement in tea quality makes it worthwhile if you plan to brew regularly.
My Tried-and-True Brewing Recipe
After experimenting with various ratios and additives, I’ve settled on a recipe that consistently produces excellent results. This makes about four gallons of tea, enough to treat my entire 30×40 foot vegetable garden.
Ingredients:
- 1 cup high-quality finished compost
- 1 tablespoon unsulfured molasses
- 1 tablespoon liquid kelp or fish emulsion (optional)
- 4 gallons of chlorine-free water
- Old pantyhose or cheesecloth for straining
Equipment:
- 5-gallon bucket
- Aquarium air pump (dual outlet preferred)
- Air stones and tubing
- Timer (optional but helpful)
Start with chlorine-free water—I collect rainwater when possible, but you can use well water or let city water sit out overnight to off-gas the chlorine. Chlorinated water will kill the beneficial microbes you’re trying to cultivate.
I put the compost in the toe of old pantyhose or wrap it in cheesecloth to create a tea bag. This makes straining much easier later and prevents pump clogs. Lower the air stones into the bucket and start the pump before adding anything else.
Add the molasses directly to the water—this feeds the microorganisms and encourages rapid multiplication. The kelp or fish emulsion provides additional nutrients and trace elements, though it’s not strictly necessary.
Drop in your compost bag and let the whole mixture bubble away for 24 to 36 hours. I usually start a batch in the evening and use it the following afternoon. The timing isn’t critical, but don’t let it go more than 48 hours or the microbes will start consuming each other as oxygen levels drop.
Getting Your Compost Right
The quality of your finished tea depends entirely on the compost you start with. Poor compost makes poor tea, regardless of your brewing technique.
Good compost for tea should be completely finished—no recognizable food scraps or plant material, no ammonia smell, and a crumbly, dark texture. It should smell earthy and rich, like forest soil after rain. If your compost is still hot or has white fungal threads running through it, it needs more time to finish.
I prefer compost that’s been made with a diverse mix of materials. Kitchen scraps, grass clippings, fallen leaves, and some aged manure create a balanced microbial community. Avoid compost made entirely from one material, like pure grass clippings, as it lacks the biological diversity you want.
Worm castings make exceptional tea base material if you have access to them. The casting are already processed through worm digestive systems, creating perfect conditions for beneficial microbes. I sometimes add a handful of castings even when using regular compost.
Store-bought compost can work, but quality varies dramatically. Look for organic certification and ask about ingredients. Avoid anything with chemical additives or that’s been treated to kill pathogens, as this defeats the purpose of brewing live tea.
Application Methods That Actually Work
I’ve learned that how you apply compost tea matters as much as how you make it. Timing, dilution, and method all affect results.
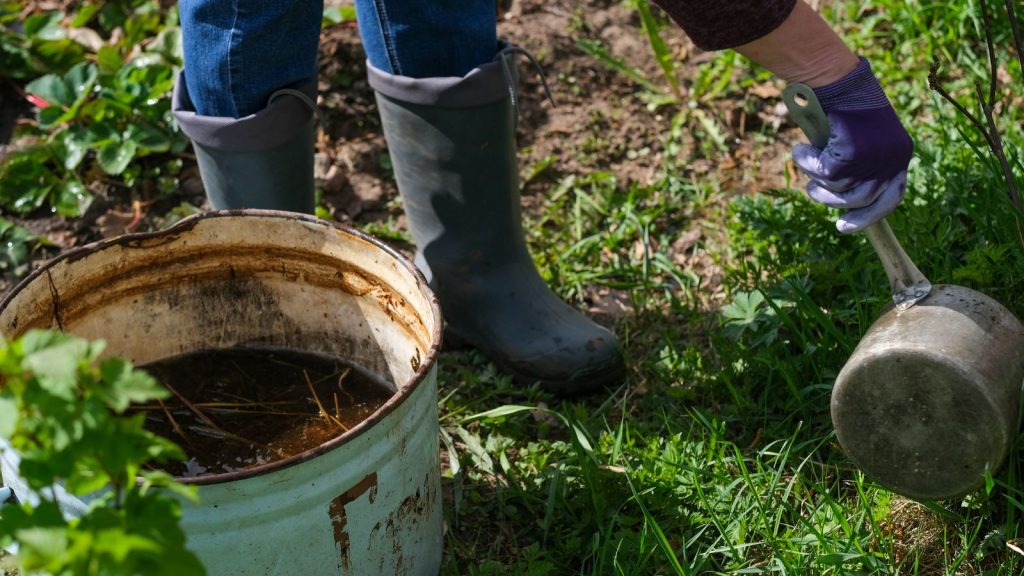
Soil Drenching
For feeding plants and improving soil biology, I apply tea directly to the soil around plant roots. This method delivers nutrients and microbes right where they’re needed most.
I use the tea at full strength or diluted 2:1 with water, depending on the plants and time of season. Heavy feeders like tomatoes and squash get full-strength applications every two weeks during peak growing season. More sensitive plants get diluted tea.
Apply to damp soil—never to bone-dry ground, as this can shock plant roots. I water lightly first if needed, then apply the tea using a watering can with the rose attachment removed for faster flow.
Foliar Feeding
Spraying tea on leaves provides rapid nutrient uptake and disease protection. The microbes colonize leaf surfaces and create a protective barrier against harmful pathogens.
For foliar application, I always strain the tea through cheesecloth to prevent sprayer clogs. A basic pump sprayer works fine, though I prefer my backpack sprayer for larger areas.
Timing is crucial for foliar feeding. I spray early morning or late evening when temperatures are cooler and humidity is higher. Midday applications can burn leaves, especially in hot weather. The goal is to coat leaves thoroughly but not create runoff.
Never spray during bloom on fruiting plants, as this can interfere with pollination. I focus foliar applications on vegetative growth periods and switch to soil drenching once plants start flowering.
Troubleshooting Common Problems
After three seasons of regular brewing, I’ve encountered most of the common issues and learned how to prevent them.
Foul smell usually indicates anaerobic conditions. This happens when air pumps fail or when brewing goes too long. The solution is better aeration and shorter brewing times. If tea smells like sewage, don’t use it—start over.
Foam buildup on the surface is normal and actually indicates active microbial growth. Excessive foam might mean you’ve added too much molasses or other nutrients. Reduce additives in future batches.
Equipment clogging happens when debris gets into pumps or sprayers. Always use fine-mesh bags for compost and strain tea before use. Clean air stones regularly to maintain proper flow.
Inconsistent results often trace back to compost quality or brewing conditions. Keep detailed notes about compost sources, brewing times, and weather conditions. This helps identify what works best in your specific situation.
Seasonal Application Strategies
My approach to compost tea changes throughout the growing season based on plant needs and garden conditions.
Early Spring applications focus on building soil biology after winter dormancy. I brew stronger batches with extra kelp meal and apply them as soil drenches before planting. This jump-starts microbial activity in cold soil.
Mid-Season use emphasizes both feeding and disease prevention. I alternate between soil and foliar applications, adjusting frequency based on weather. Hot, humid periods get more frequent foliar treatments to prevent fungal diseases.
Late Season applications help plants finish strong and prepare for winter. I reduce nitrogen sources like fish emulsion and focus on potassium-rich additives like kelp meal. This encourages fruit ripening and helps plants harden off.
Fall cleanup is when I make my strongest batches using fresh compost and aged manure. These go directly on garden beds as soil drenches before mulching for winter.
Storage and Shelf Life
Fresh compost tea should be used within hours of finishing brewing for maximum microbial activity. The living organisms that make tea effective don’t survive long once brewing stops and oxygen levels drop.
I plan my brewing schedule around garden tasks, starting batches when I know I’ll have time to apply them promptly. If I must store tea briefly, I keep air stones running to maintain oxygen levels, but never more than a day.
For longer storage, you can freeze tea in ice cube trays, though this kills most microbes. Frozen tea cubes still contain nutrients and work as liquid fertilizer, just without the biological benefits of fresh tea.
Some people try to preserve tea with various additives, but I’ve found this rarely works well. The microbial communities are too complex and fragile to maintain artificially. Fresh is always better.
Cost Analysis: Is It Worth It?
When I calculated the real costs of making compost tea versus buying organic fertilizers, the savings were substantial. A batch of tea costs maybe $2 in materials but replaces $20-30 worth of organic liquid fertilizer.
The bigger value comes from reduced plant problems. Since starting regular tea applications, I’ve dramatically reduced fungal diseases, pest damage, and plant stress. This means higher yields and less money spent on problem remedies.
Equipment costs are minimal and one-time. My brewing setup cost $45 three years ago and has made hundreds of gallons of tea. Even buying finished compost occasionally, the per-gallon cost stays well under $1.
The time investment is mostly passive—brewing happens while you do other things. Active time for mixing and application is comparable to any liquid fertilizer routine.
Compost tea won’t solve every garden problem, but it’s become an essential tool in my organic gardening approach. The combination of plant nutrition, biological activity, and disease suppression has noticeably improved my garden’s health and productivity. For the minimal cost and effort involved, it’s one of the best investments I’ve made in my garden’s long-term success.

James is a former logistics coordinator and wilderness safety instructor, whose practical experience taught him the value of sensible preparedness and calm resilience. Passionate about self-reliance, James teaches everyday skills—like water purification, emergency communication, and outdoor safety—to help people confidently handle life's disruptions without fear or overwhelm. His approachable style combines real-world insights with relatable, personal stories and experiences.