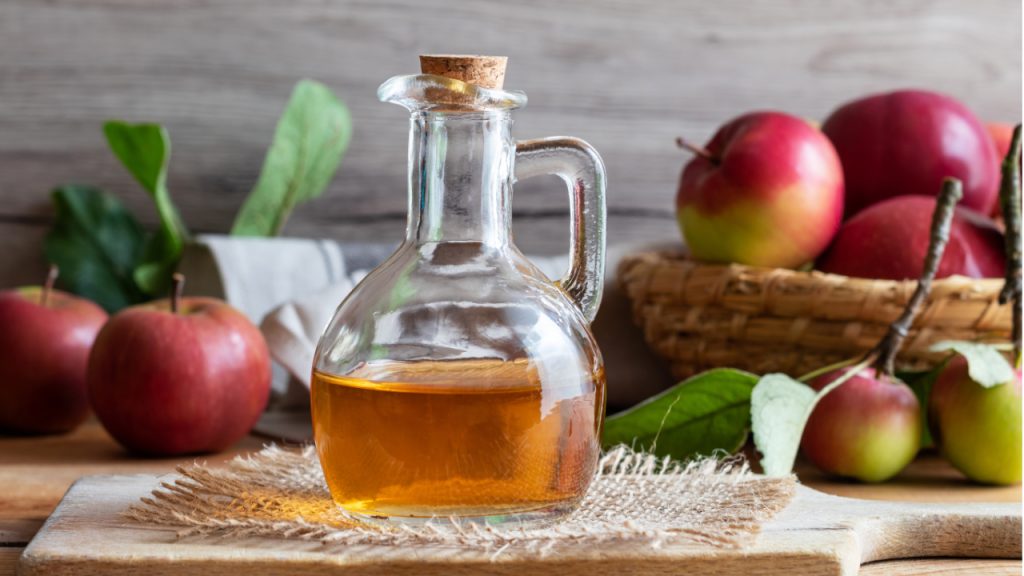
If you’re anything like me, you hate wasting good food—and love turning scraps into something useful. Apple cider vinegar (ACV) is one of those wonderful things you can make at home with just a few ingredients, a little time, and some patience. It’s a quiet sort of alchemy, turning peels and cores into something tangy, useful, and downright powerful for your kitchen, health, and cleaning shelf.
What’s great is you don’t need fancy tools or expensive starter cultures. You can do it with what you already have on hand. The process is natural and self-sustaining once you get the hang of it. Whether you’re prepping for self-reliance or just want to stretch your pantry, ACV is a rewarding place to start.
Here’s exactly how I make mine, step by step!
Save Your Apple Scraps
Whenever you eat apples or make something like applesauce or pie, save the peels and cores. You can freeze them in a bag until you have enough. Ideally, use organic apples so you avoid pesticides, especially since the skins are key. You’ll need about 5–7 apples’ worth of scraps to make a quart jar of vinegar.
Use Clean Water And A Glass Jar
Fill a clean glass jar about three-quarters full with your apple scraps. Cover the scraps with cool, filtered water. Tap water with chlorine can slow or kill the fermentation, so if that’s all you have, let it sit out overnight first. Don’t use metal or plastic containers—they can react with the acid later on.
Add A Bit Of Sugar
To kickstart fermentation, add one tablespoon of sugar per cup of water. Plain white sugar works fine—this is food for the wild yeast and bacteria that turn apple scraps into vinegar. Stir well to dissolve the sugar and mix it into the water and apples.
Cover It And Let It Ferment
Cover the jar with a piece of breathable cloth or a coffee filter and secure it with a rubber band. This keeps bugs out but lets air in. Set the jar in a warm, dark place (like a pantry or cupboard) for about 2–3 weeks. Stir it once a day if you can to prevent mold from forming on top.
Strain Out The Solids
After a couple of weeks, the mixture will start to smell a little sour and alcoholic, which means it’s right on track. Once the apple pieces have sunk or turned brown and mushy, it’s time to strain them out. Use a fine mesh strainer or cheesecloth to pour the liquid into a clean jar. Toss the solids into your compost.
Let It Turn To Vinegar
Now the real transformation begins. Cover the jar again with a cloth and let it sit in a warm, dark place for another 3–4 weeks. You’ll start to notice a stronger vinegar smell as the alcohol converts to acetic acid. You might also see a gelatinous blob form on top—this is the “mother,” a sign of healthy fermentation.
Taste It And Store It
After about a month, taste the vinegar. If it’s sour enough for your liking, it’s ready! Strain it again if needed, and transfer it to a clean bottle with a lid. You can store it at room temperature in a dark spot for months or even years. The flavor will continue to mature over time.