Pick up a ripe tomato from your garden and you might find yourself wondering, can I actually grow more just from the seeds inside? The good news is, yes, you absolutely can. And the even better news? It’s simpler than you might expect.
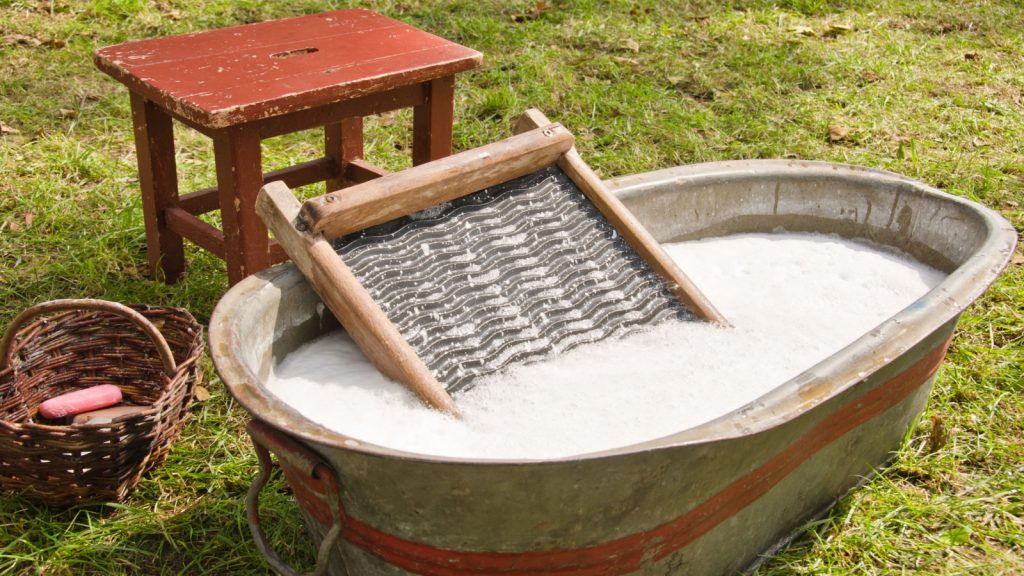
I started seed saving a few years back, mostly out of curiosity. Now it’s one of my favorite parts of gardening. It makes me feel more connected to the plants I grow and gives me a little peace of mind knowing I don’t have to buy new seeds every season. Plus, it’s a great way to hang on to those really tasty or hardy varieties you don’t want to lose. Whether you’re growing on a sunny balcony or a full backyard plot, learning how to save your own seeds is a skill worth having.

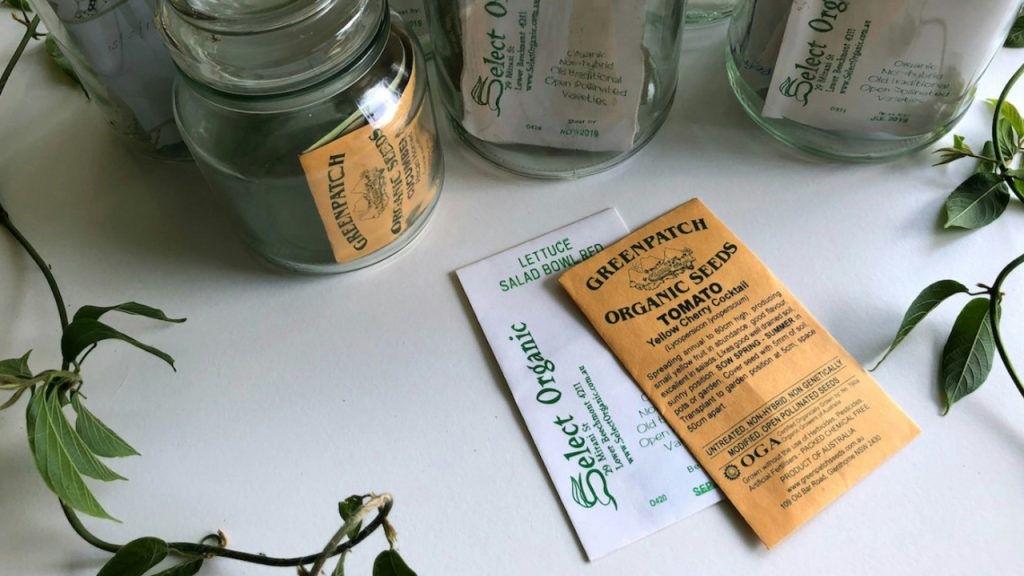
Start With Open-Pollinated or Heirloom Varieties
Not all seeds will grow into the same kind of plant they came from. If you want a tomato that tastes like the one you saved it from, you’ll need to start with open-pollinated or heirloom plants. These types pass their traits down reliably, kind of like family recipes. Hybrid seeds are a mix of two varieties, so their offspring can be unpredictable—sometimes they’re fine, but sometimes they’re nothing like the original.
Choose Seeds From Healthy, Mature Plants
Think of seed saving like passing on good genes. You want to collect seeds from plants that were strong, disease-free, and produced well. Let the fruit or flower fully mature before collecting—often this means leaving it on the plant longer than you normally would. That extra time lets the seeds fully ripen and gives them the best chance at sprouting next season.
Dry Seeds Need Time to Cure
If you’re saving seeds from dry fruits like beans, peas, or lettuce, it’s important to let them dry out completely. Even a little moisture can lead to mold, and once that starts, there’s no saving them. Spread the seeds out in a single layer somewhere cool and dry for about a week or two. I usually use a paper plate or screen and give them a gentle stir now and then to make sure they dry evenly.
Wet Seeds Need a Little Fermentation
Seeds from fruits like tomatoes, cucumbers, or squash come coated in a slimy gel that keeps them from sprouting inside the fruit. To save these, scoop out the seeds and place them in a jar with a bit of water. Let them sit at room temperature for 2 to 4 days—just until a little mold forms on top (it’s gross, but it’s part of the process). Then rinse them well and lay them out to dry like you would with dry seeds.
Label Your Seeds Right Away
You’d be surprised how fast seeds all start to look the same once they’re dry. I’ve had more than one mystery envelope turn up in the spring! As soon as your seeds are dry, label them with the plant name, variety, and the date. I like using small paper envelopes, but mason jars or pill bottles work great too—whatever you have on hand.
Store Seeds Cool, Dry, and Dark
Once your seeds are dry and labeled, store them somewhere out of direct light and away from heat or humidity. A pantry or drawer works fine, or you can pop them in the fridge in an airtight container. I usually toss in a little packet of silica gel or some uncooked rice to keep moisture out. Stored properly, most seeds will stay good for at least a couple of years.
Check Germination If You’re Unsure
If your seeds are more than a year old or you’re just curious if they’ll still sprout, you can do a quick germination test. Put a few seeds on a damp paper towel, fold it up, and seal it in a plastic bag. After a few days, check to see how many have sprouted. If most of them do, great—you’re good to plant. If only a few pop, you can still use them, just plant more than usual.
Ellen Reed lives where the road ends and the quiet begins. Her work tends to the tender space between solitude and connection, loss and joy, seed and harvest.
She's an author and journalist. When she's not in her garden, she's drinking tea and playing with her puppy.