Growing your own food is one of the most rewarding skills you can develop. Not only does it provide fresh, nutritious produce for your family, but it also connects you to seasonal rhythms and ancient human traditions. For many of us with challenging soil conditions, raised beds are the perfect solution.
I’ve spent years battling heavy clay soil that seemed determined to drown any root crop I attempted to grow. After countless disappointing harvests, I finally invested in raised beds, and the difference has been remarkable. Today, I’d like to walk you through everything you need to know about starting your own raised bed garden.
Why Choose Raised Beds?
Raised beds solve numerous gardening challenges:
- Better drainage: Perfect for areas with heavy clay or poorly draining soil
- Earlier planting: The soil warms faster in spring
- Reduced back strain: Less bending means easier gardening
- Fewer weeds: A controlled environment means fewer uninvited plants
- Better soil control: You create the perfect growing medium from scratch
- Extended growing season: Raised beds warm earlier in spring and stay productive later into fall
My own garden transformation came after years of frustration. Despite adding compost and organic matter to my heavy clay soil, root crops always struggled. The difference in production once I built raised beds was astonishing – what once gave disappointing yields now provides abundant harvests.
Building Your First Raised Beds
You don’t need to be a master carpenter to create effective raised beds. Here are your main options:
Materials
- Untreated lumber: Cedar or redwood will last 10-15 years without chemicals
- Concrete blocks: Inexpensive, durable, and they create extra planting pockets along edges
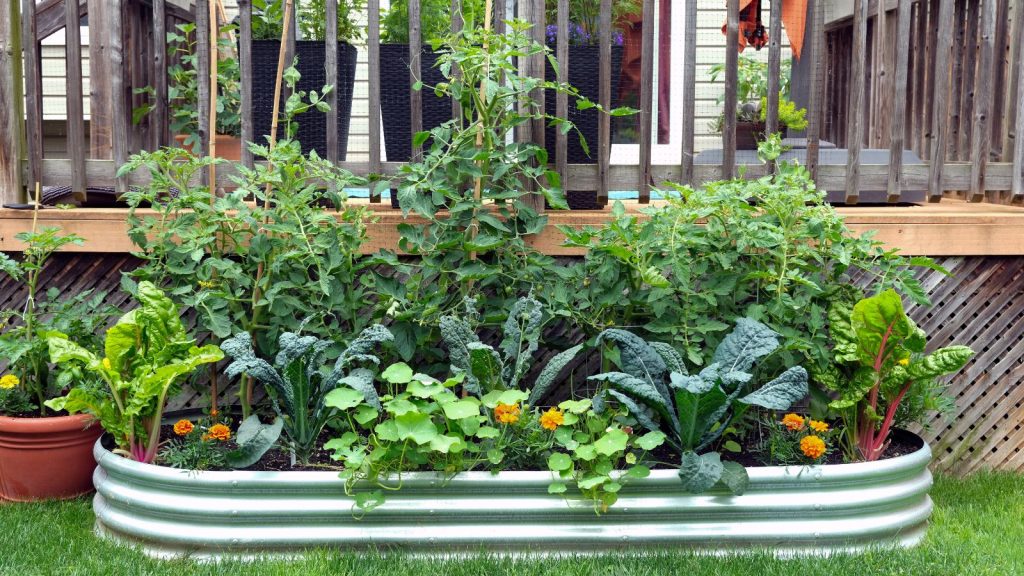
- Galvanized metal: Modern appearance with excellent durability
- Stone or brick: Beautiful, permanent, but more labor-intensive
- Prefabricated kits: Quick setup for those short on time or tools
I chose untreated cedar for my own beds, which has held up beautifully for five years now. Whatever material you choose, avoid pressure-treated lumber for food gardens, as older treatments contained arsenic and newer ones still leach chemicals you don’t want in your food.
Dimensions
The perfect raised bed balances growing space with accessibility:
- Width: 3-4 feet maximum (you need to reach the center without stepping in)
- Length: As long as practical for your space
- Depth: 12-24 inches (deeper is better for root crops)
My most productive beds are 4 feet wide by 8 feet long and 24 inches deep. This depth allows even long-rooted crops like carrots and parsnips to develop perfectly without hitting compacted subsoil.
Creating the Perfect Soil Mix
The beauty of raised beds is starting with a blank slate. Here’s my proven soil mix:
- 40% topsoil
- 40% compost (use multiple sources if possible)
- 10% well-rotted manure
- 10% perlite, vermiculite, or coarse sand for drainage
If you’re on a budget, check with local farms for affordable compost and manure. Many municipalities also offer free compost to residents. I’ve found that mixing compost from several sources provides a better balance of nutrients than relying on just one.
For new beds, I typically add a thin layer of cardboard at the bottom before adding soil. This suppresses weeds without creating an impermeable barrier that would prevent beneficial earthworms from moving upward into your beds.
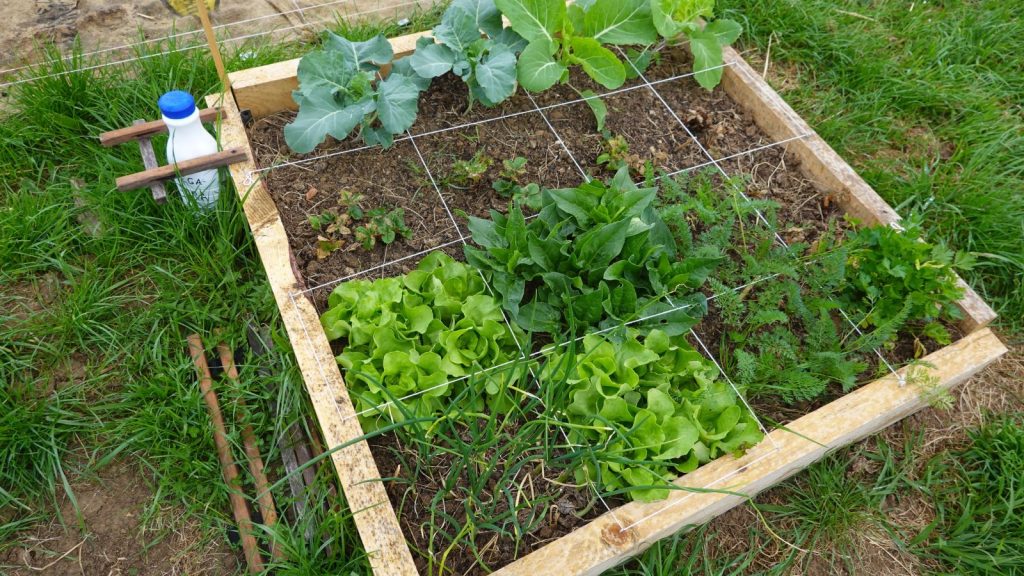
Planning Your Crops
Raised beds are perfect for intensive planting methods. When planning, consider:
- Sun exposure: Most vegetables need 6-8 hours of direct sunlight
- Companion planting: Some plants help each other grow better
- Succession planting: As one crop finishes, be ready with another
- Vertical space: Trellises and supports let you grow more in limited space
The productivity per square foot is substantially higher than traditional row gardening.
Seasonal Care for Raised Beds
One of the beauties of raised bed gardening is the relatively low maintenance required. Still, each season has its tasks:
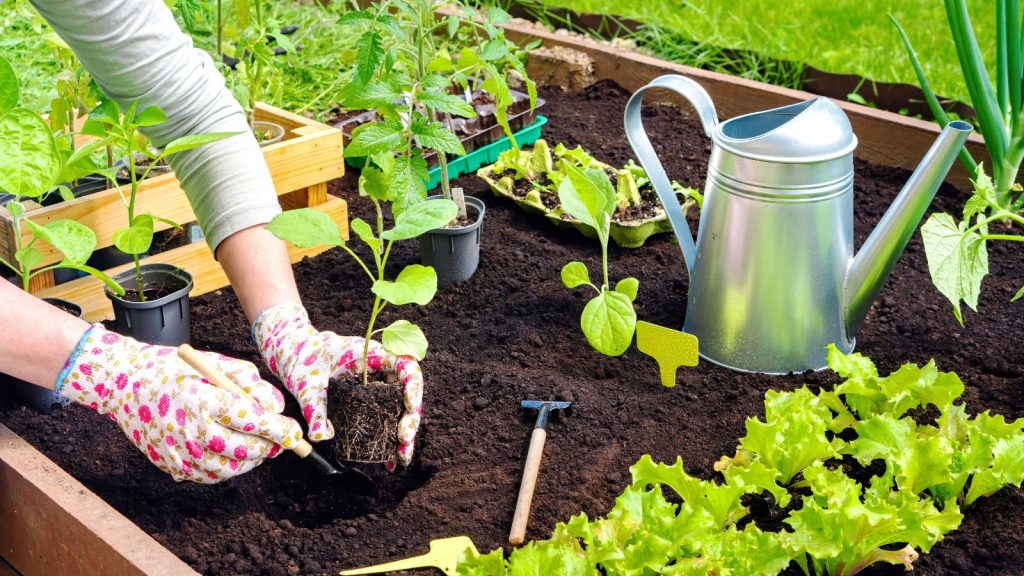
Spring
- Test soil pH and amend if necessary
- Add fresh compost to the top 2-3 inches
- Install trellises and supports before planting
- Plant cool-season crops as soon as soil can be worked
Summer
- Mulch heavily to retain moisture and suppress weeds
- Water consistently—raised beds dry out faster than ground-level gardens
- Harvest frequently to encourage production
- Replace spring crops with summer varieties as temperatures rise
Fall
- Plant fall crops like greens, root vegetables, and garlic
- Add season extenders like low tunnels or cold frames
- Collect leaves and other organic matter to compost for next season
Winter
- Apply mulch to protect perennial crops
- Add a layer of compost to empty beds
- Plan next year’s layout, considering crop rotation
- Build any additional beds while garden demands are low
My own raised beds see virtually zero maintenance during winter months in our cold climate. They rest under snow, with garlic and perennial herbs tucked safely beneath the frozen blanket until spring returns.
Common Problems and Solutions
Every garden faces challenges. Here are some specific to raised beds:
Drying out too quickly:
- Install drip irrigation
- Mulch heavily (3-4 inches)
- Consider adding biochar to soil mix for better water retention
Nutrient depletion:
- Add fresh compost annually
- Practice crop rotation
- Use cover crops in off-seasons
Soil settling/compaction:
- Top off beds with fresh compost/soil mix each spring
- Avoid stepping in beds
- Use broadforks to gently loosen soil without disturbing structure
When I first started with raised beds, I underestimated how quickly they would dry out during hot summer days. Now I maintain a thick mulch layer and use ollas (unglazed clay pots) buried in beds to provide slow, consistent moisture directly to root zones.
From Garden to Table: Harvest and Preservation
The ultimate reward of gardening is enjoying the harvest. For maximum freshness:
- Harvest in the morning when vegetables are most hydrated
- Cool leafy greens immediately by dunking in cold water
- Use proper storage techniques for each vegetable type
When the garden produces more than you can eat fresh, preservation methods keep the harvest feeding you year-round:
- Freezing: Quickest method for most vegetables
- Canning: Perfect for tomatoes, pickles, and jams
- Dehydrating: Works beautifully for herbs, fruits, and some vegetables
- Root cellaring: For storing potatoes, winter squash, and root crops
Last summer, my four raised beds produced such an abundance of tomatoes that I was able to can enough sauce, salsa, and whole tomatoes to last until the following season. The satisfaction of opening home-grown tomatoes in January cannot be overstated.
Final Thoughts
Raised bed gardening transformed my relationship with growing food. What was once a frustrating battle with poor soil became a productive partnership with nature. The initial investment in materials and soil quickly pays for itself in abundant harvests and reduced maintenance time.
Remember that gardening is both science and art—each season brings new knowledge and improvements. Take notes, observe closely, and adjust your methods based on what works in your specific location. Your best teacher will always be your own garden.
Happy growing!

James is a former logistics coordinator and wilderness safety instructor, whose practical experience taught him the value of sensible preparedness and calm resilience. Passionate about self-reliance, James teaches everyday skills—like water purification, emergency communication, and outdoor safety—to help people confidently handle life's disruptions without fear or overwhelm. His approachable style combines real-world insights with relatable, personal stories and experiences.