Fresh green beans from the garden are one of summer’s greatest rewards, but the harvest season can be overwhelming. One day you have a handful of tender pods, and the next week you’re staring at bushels of beans that need immediate attention. We learned this lesson the hard way during our second year of serious gardening when we planted way too many bush beans and watched half the crop go to waste because we couldn’t keep up with the daily picking.
That experience taught us the importance of having a solid plan for both harvesting and preserving green beans. Now we make sure we harvest, process, and freeze green beans while they’re at peak quality. This method has saved us countless hours and ensures we have garden-fresh beans throughout the winter months.
The key to success with green beans is timing and technique. Unlike tomatoes or peppers that can sit on the counter for a few days, green beans need immediate attention once picked. They lose their crisp texture and sweet flavor quickly, especially in warm weather. Having a system in place makes all the difference between enjoying your harvest and feeling overwhelmed by it.
Understanding Green Bean Harvest Timing
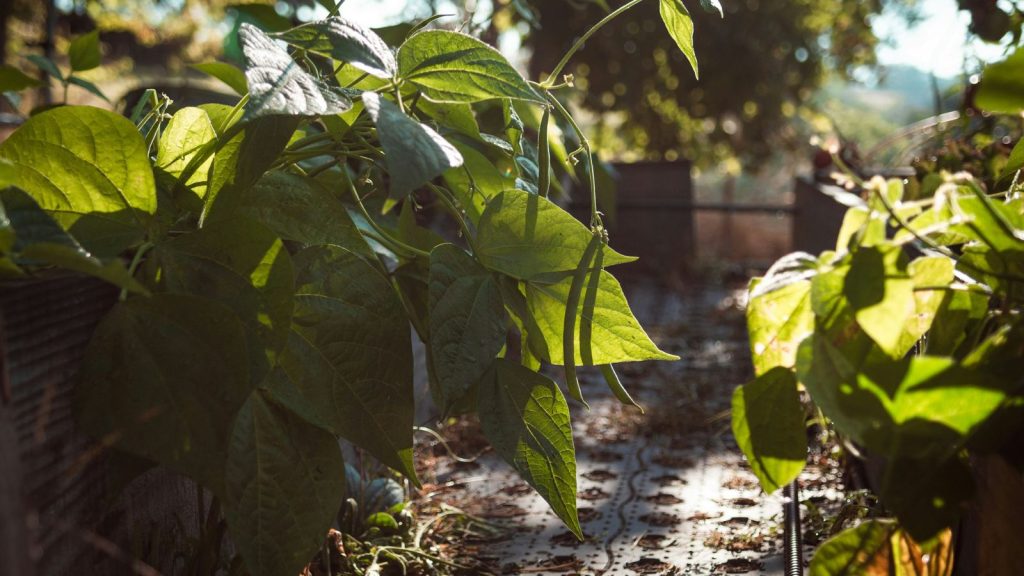
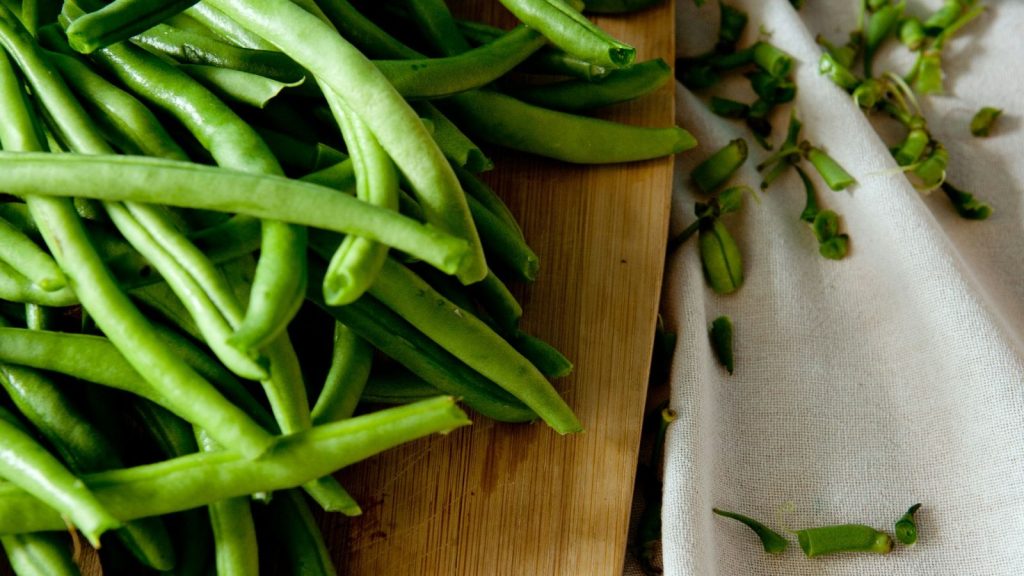
Green beans are ready to harvest when the pods are firm, bright green, and snap crisply when bent. The beans inside should be small and underdeveloped – you want the pod, not the mature seeds. Most varieties are ready 50 to 65 days from planting, but the harvest window varies significantly based on your growing conditions and variety choice.
Bush beans produce their entire crop over a concentrated 2 to 3 week period, making them perfect for bulk processing and freezing. Pole beans, on the other hand, produce continuously throughout the growing season, giving you smaller but more manageable harvests over several months. For freezing purposes, we prefer bush beans because you can process large quantities at once rather than dealing with small batches every few days.
The ideal harvest time is early morning when temperatures are cool and the pods are still crisp from overnight moisture. Beans picked during the heat of the day tend to be limp and lose quality faster. We’ve found that beans harvested in the morning maintain better texture after freezing compared to those picked later in the day.
Check your plants every other day once they start producing. Green beans can go from perfect to overripe in just a few days, especially during hot weather. Overripe beans become tough and stringy, with large, visible seeds inside the pods. While these aren’t good for fresh eating or freezing, don’t waste them – let them fully mature for next year’s seed stock.
Step 1: Proper Harvesting Technique
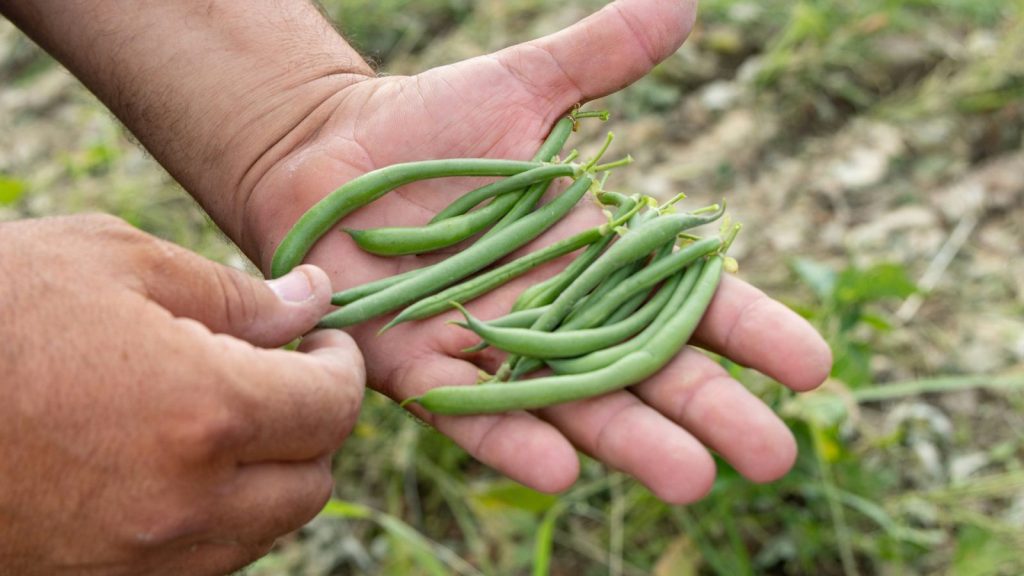
The way you harvest green beans affects both the current crop quality and future production. Always use both hands when picking – hold the stem with one hand and gently pull the bean pod with the other. This prevents damage to the plant and ensures you get a clean break at the stem end.
Never yank or pull roughly on bean pods. Bush bean plants have shallow root systems and can be easily uprooted or damaged by aggressive harvesting. We learned this during our first year when enthusiastic picking resulted in several plants being pulled right out of the ground, complete with roots.
Pick beans when they’re about the thickness of a pencil. At this stage, they’ll have the best texture and flavor for freezing. Thicker beans often have tough strings and oversized seeds that make them less desirable for preservation. If you find beans that are getting thick, harvest them anyway but plan to use them fresh rather than freezing them.
Harvest regularly to keep plants producing. Leaving mature pods on the plant signals it to stop flowering and setting new beans. With bush varieties, this isn’t as critical since they produce over a short period anyway, but it’s still good practice for maximizing your total harvest.
Bring a large basket or collection container to the garden rather than trying to stuff beans in your pockets or carry them loose in your hands. A 5-gallon bucket works well for large harvests, while a traditional harvest basket is perfect for smaller quantities. Having proper collection containers keeps your beans from getting bruised or damaged during picking.
Step 2: Initial Processing and Sorting
Once you bring your beans inside, you need to process them quickly. Green beans deteriorate rapidly at room temperature, losing both flavor and texture within hours of harvest. Set up a processing station near your kitchen sink with plenty of counter space and good lighting.
Start by sorting your beans into three categories: perfect beans for freezing, slightly overripe beans for immediate fresh use, and very overripe beans for composting or seed saving. This sorting step is crucial because mixing different qualities of beans results in inconsistent texture after freezing.
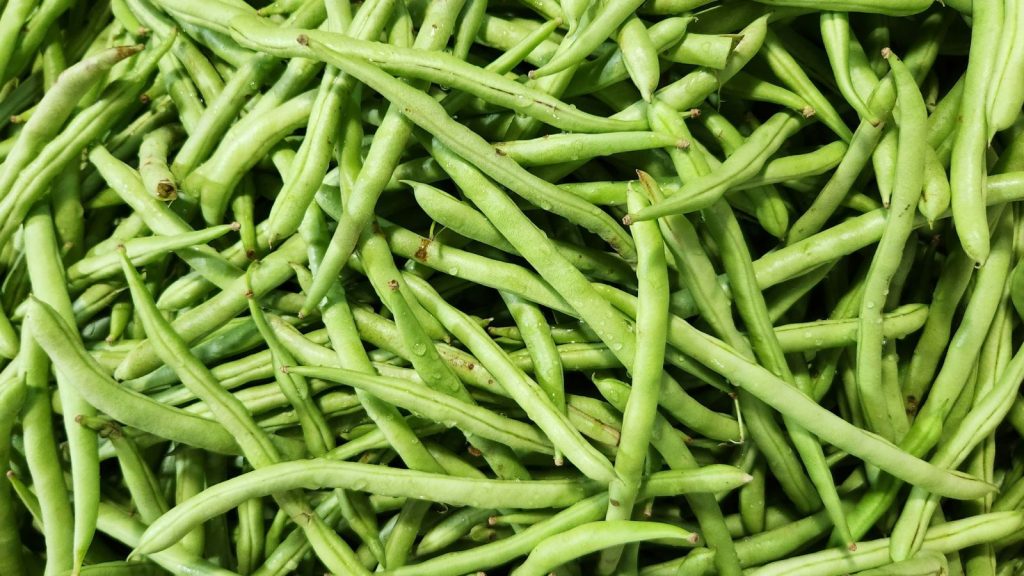
Perfect beans for freezing should be uniformly green, firm, and snap crisply when bent. They should show no signs of yellowing, soft spots, or visible seeds bulging through the pod walls. These beans will maintain the best quality through the freezing and storage process.
Slightly overripe beans might have some visible seeds or be starting to lose their bright green color but are still tender enough for fresh eating. Use these immediately in stir-fries, salads, or side dishes rather than putting them through the freezing process where their inferior quality will become more apparent.
Remove any damaged, diseased, or insect-affected beans during this sorting step. One bad bean can affect the quality of an entire batch, especially if it has soft rot or other decay that can spread during storage. It’s better to be selective now than deal with spoiled beans later.
Step 3: Washing and Trimming
Proper washing removes dirt, insects, and potential contaminants while trimming prepares the beans for blanching and freezing. Fill a large bowl or clean sink with cool water and add your sorted beans. Swish them around gently to remove any clinging soil or debris.
Lift the beans out of the wash water rather than draining them with the water. This leaves any dirt or debris behind in the bottom of the container rather than redistributing it over clean beans. If your beans are particularly dirty, you may need to repeat this washing process with fresh water.
After washing, trim both ends of each bean. Some people skip the blossom end, but we’ve found that removing both ends gives the most consistent results. The stem end often has a tough, fibrous texture that doesn’t soften well during blanching, while the blossom end can sometimes harbor bacteria that affect storage quality.
When trimming, look for and remove any strings that run along the seam of the bean pod. Modern varieties are largely stringless, but occasionally you’ll find pods with tough strings that need removal. These strings become more pronounced after freezing and can make the beans unpleasant to eat.
Cut beans into your preferred size for cooking. We typically cut ours into 1 to 2 inch pieces, which work well for most recipes and fit easily in freezer containers. Some people prefer to freeze whole beans, but we’ve found that pre-cutting saves time during meal preparation and allows for more compact storage.
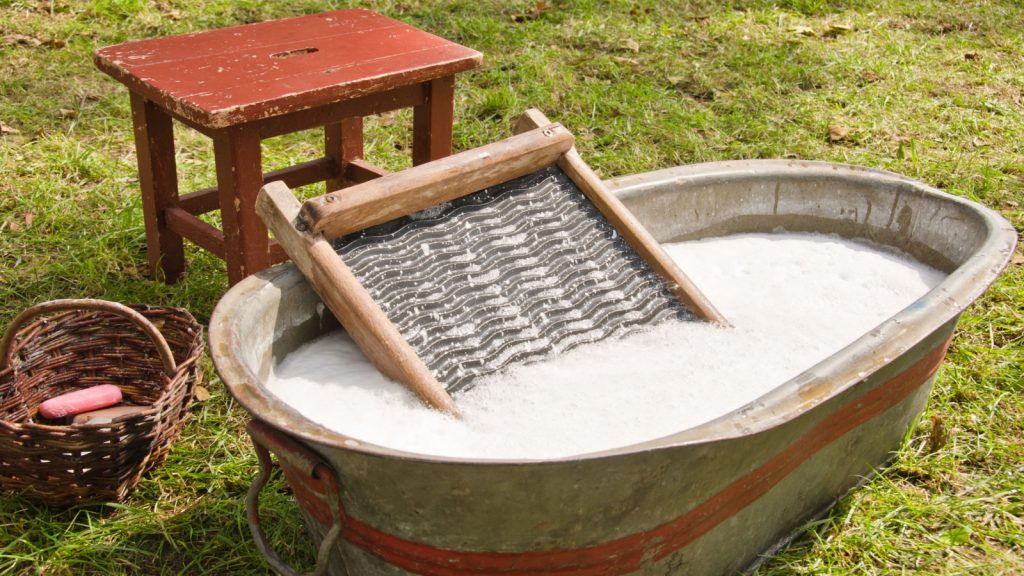
Step 4: Blanching for Perfect Texture
Blanching is the critical step that separates successfully frozen green beans from mushy disappointments. This brief cooking process stops enzyme activity that would otherwise cause the beans to lose color, flavor, and texture during frozen storage. Properly blanched beans maintain their bright green color and crisp-tender texture for 8 to 12 months in the freezer.
Set up your blanching station before you start: a large pot of rapidly boiling water, a slotted spoon or wire basket for removing beans, and a large bowl of ice water for the cold shock. The ice water bath is just as important as the boiling water – it immediately stops the cooking process and prevents the beans from becoming overcooked.
Blanch beans in small batches to maintain water temperature. Adding too many beans at once drops the water temperature significantly, resulting in uneven cooking. We typically blanch about 1 pound of prepared beans at a time, which works well for most home kitchens.
Boil the beans for exactly 3 minutes. Start timing when the water returns to a full boil after adding the beans. Under-blanched beans will lose quality during storage, while over-blanched beans become mushy and lose their appealing texture. Three minutes is the perfect balance for most green bean varieties.
Immediately transfer the blanched beans to the ice water bath using a slotted spoon or wire basket. Leave them in the ice water for the same amount of time they were in the boiling water – 3 minutes. This cooling process is crucial for stopping the cooking and maintaining the proper texture.
Step 5: Proper Packaging and Freezing
The final step determines how well your beans maintain quality during frozen storage. Proper packaging prevents freezer burn and maintains flavor, while good freezing technique preserves texture and nutritional value.
Drain the blanched and cooled beans thoroughly before packaging. Excess water creates ice crystals that damage cell structure and lead to mushy beans after thawing. We spread our drained beans on clean kitchen towels for a few minutes to remove surface moisture before packaging.
Package beans in meal-sized portions rather than large bulk containers. This allows you to thaw only what you need without compromising the quality of the remaining beans. We typically package 1 to 2 cups per container, which works well for most family meals.
Choose appropriate containers for your storage needs. Freezer bags work well and take up minimal space, but rigid containers protect the beans better from crushing and freezer burn. Remove as much air as possible from bags to prevent oxidation and freezer burn. If using bags, consider double-bagging for extra protection.
Label each package with the contents and date. Even though you think you’ll remember, frozen vegetables can look surprisingly similar after a few months in the freezer. Include the variety name if you’re growing multiple types – you’ll appreciate knowing whether you’re thawing Provider bush beans or Cherokee Trail of Tears pole beans.
Freeze packages in a single layer initially, then stack them once frozen solid. This prevents the beans from forming one large frozen block and makes it easier to separate individual packages later. Place new packages toward the back of the freezer where temperatures are most consistent.
Storage and Usage Tips
Properly processed and frozen green beans maintain peak quality for 8 to 12 months, though they remain safe to eat beyond that time. For best results, maintain your freezer at 0°F or below and avoid frequent temperature fluctuations from opening and closing the freezer door repeatedly.
When you’re ready to use your frozen beans, there’s no need to thaw them first. Add frozen beans directly to boiling water, stir-fries, casseroles, or other cooked dishes. Cooking from frozen actually helps maintain better texture than thawing first, which can make the beans slightly mushy.
For steaming, add frozen beans to your steamer basket and steam for 4 to 6 minutes until heated through and tender-crisp. For boiling, add them to boiling water and cook for 3 to 5 minutes. The beans are already partially cooked from blanching, so they need less cooking time than fresh beans.
Frozen green beans work well in most recipes that call for fresh beans, though they’re best suited for cooked dishes rather than raw applications. They’re perfect for casseroles, soups, stews, and stir-fries where their slightly softer texture isn’t noticeable.
If you end up with more frozen beans than you can use within a year, consider them for soup stock, where texture is less important, or feed them to chickens or other livestock as a nutritious treat. Don’t let them go to waste – even older frozen beans have nutritional value and can be used creatively in the kitchen.

James is a former logistics coordinator and wilderness safety instructor, whose practical experience taught him the value of sensible preparedness and calm resilience. Passionate about self-reliance, James teaches everyday skills—like water purification, emergency communication, and outdoor safety—to help people confidently handle life's disruptions without fear or overwhelm. His approachable style combines real-world insights with relatable, personal stories and experiences.